Apple claims that Macs enjoy state-of-the-art protection that makes them less vulnerable to malware and cyberattacks. For years, Mac users felt safe while their Windows counterparts succumbed to hackers and malicious programs. However, with cybercrime becoming more advanced every year, many Mac users are turning to VPNs to add an extra layer of security.
In this guide, we’ll debunk the myth that Mac users are secure from cyber threats and, more importantly, we’ll show you how to set up a VPN on Mac.
Are Mac machines secure?
Experts agree that Mac machines are more secure than their Windows computers, partly because macOS is based on Unix, a basic multitasking operating system. Also, Apple practices tight control on apps that are allowed to run on Mac machines. All these measures make Mac machines harder to break into… but not impossible.
Cybercriminals are ramping up their game to break into Mac computers. For example, they released the Silver Sparrow malware, which targets the M1 Macs processor. Apple touted the M1 Macs as more secure than Intel processors, but this malware was released at the same time which threw some doubt on Apple’s claims.
Also, as Apple products cost a lot more, cybercriminals might target Mac users because they might be wealthier.
So, your Mac isn’t an impenetrable digital fortress as some imagined. Like it or not, cybercriminals can take advantage of every little chink they can find on Mac’s armour. While Apple continues introducing new security features for Mac users, it never hurts to reinforce your machine with a VPN.
Do you need a VPN for Mac?
Yes, you do. Although Apple is synonymous with security and continuously suggests ways for users to make their Macs more secure, a VPN for Mac makes your Mac machine an unlikely target for cybercriminals. It hides your IP address and scrambles your data with encryption so there’s no way for cybercriminals to access or data or even trace you.

Here are a few reasons why a VPN can help improve your security:
Cyberattacks
Mac users are not spared from the brunt of malware, man-in-the-middle attacks, phishing, and other threats. Such attacks have increased recently, up to 97 victims per hour, resulting in data and monetary losses in the billions.
Installing a good VPN will make these attacks more difficult as the perpetrators can’t intercept your data or pinpoint your location.
Privacy
Apple has a firm stand on privacy, but there are limits to what it can do to protect you on the internet. Every piece of information you send from your Mac might pass under the prying eyes of hackers, governments, ISPs, or spies. A VPN encrypts your data to shield them from these parties.
Censorship
Some countries practice strict internet censorship. If you travel to such countries for business or leisure, you can’t use certain apps or websites on your Mac. A VPN helps you bypass the government’s geo-restriction by masking your IP address with one from a different country.
How to setup a VPN on Mac in 4 simple steps
There are several ways to set up a VPN on your Mac. Some VPNs. like ClearVPN, are MacOS-friendly and downloadable from the AppStore. Others might require configuring the VPN settings. Regardless of the installation procedure, we’ve got your back with these step-by-step guides.
How to set up a VPN on macOS Ventura
If you’re manually connecting to a VPN service on macOS Ventura, you’ll need to prepare the necessary settings credentials, such as the VPN server address, remote ID, username, and password. Then, follow these steps.
1. Access the Apple menu at your Mac’s top left corner.
2. Choose System Settings, followed by VPN on the sidebar, and
3. Choose Add VPN Configuration. Then, select the connection type. Fill in the name of your VPN service in the Display Name column.
4. Select the proper VPN settings. Insert the required credentials, such as the username and password. Hit Create to complete the setup.
5. Your new Mac VPN is now ready.
How to set up a VPN on Mac with a third-party app
Some VPNs provide an installer for Mac machines. Here’s how to set up a VPN via an installer app.
1. Subscribe and download the VPN installer for Mac. Usually, the installer is a .dmg file.
2. Double-click the .dmg file, which opens up a Finder window.
3. Drag the VPN icon to the Applications folder.
4. Launch the VPN app with your account’s name and password.
How to install VPN on Mac from the AppStore.
The most straightforward way to install a VPN on Mac is via AppStore, assuming the VPN providers list their apps in the marketplace.
To do so:
- Open AppStore on your Mac.
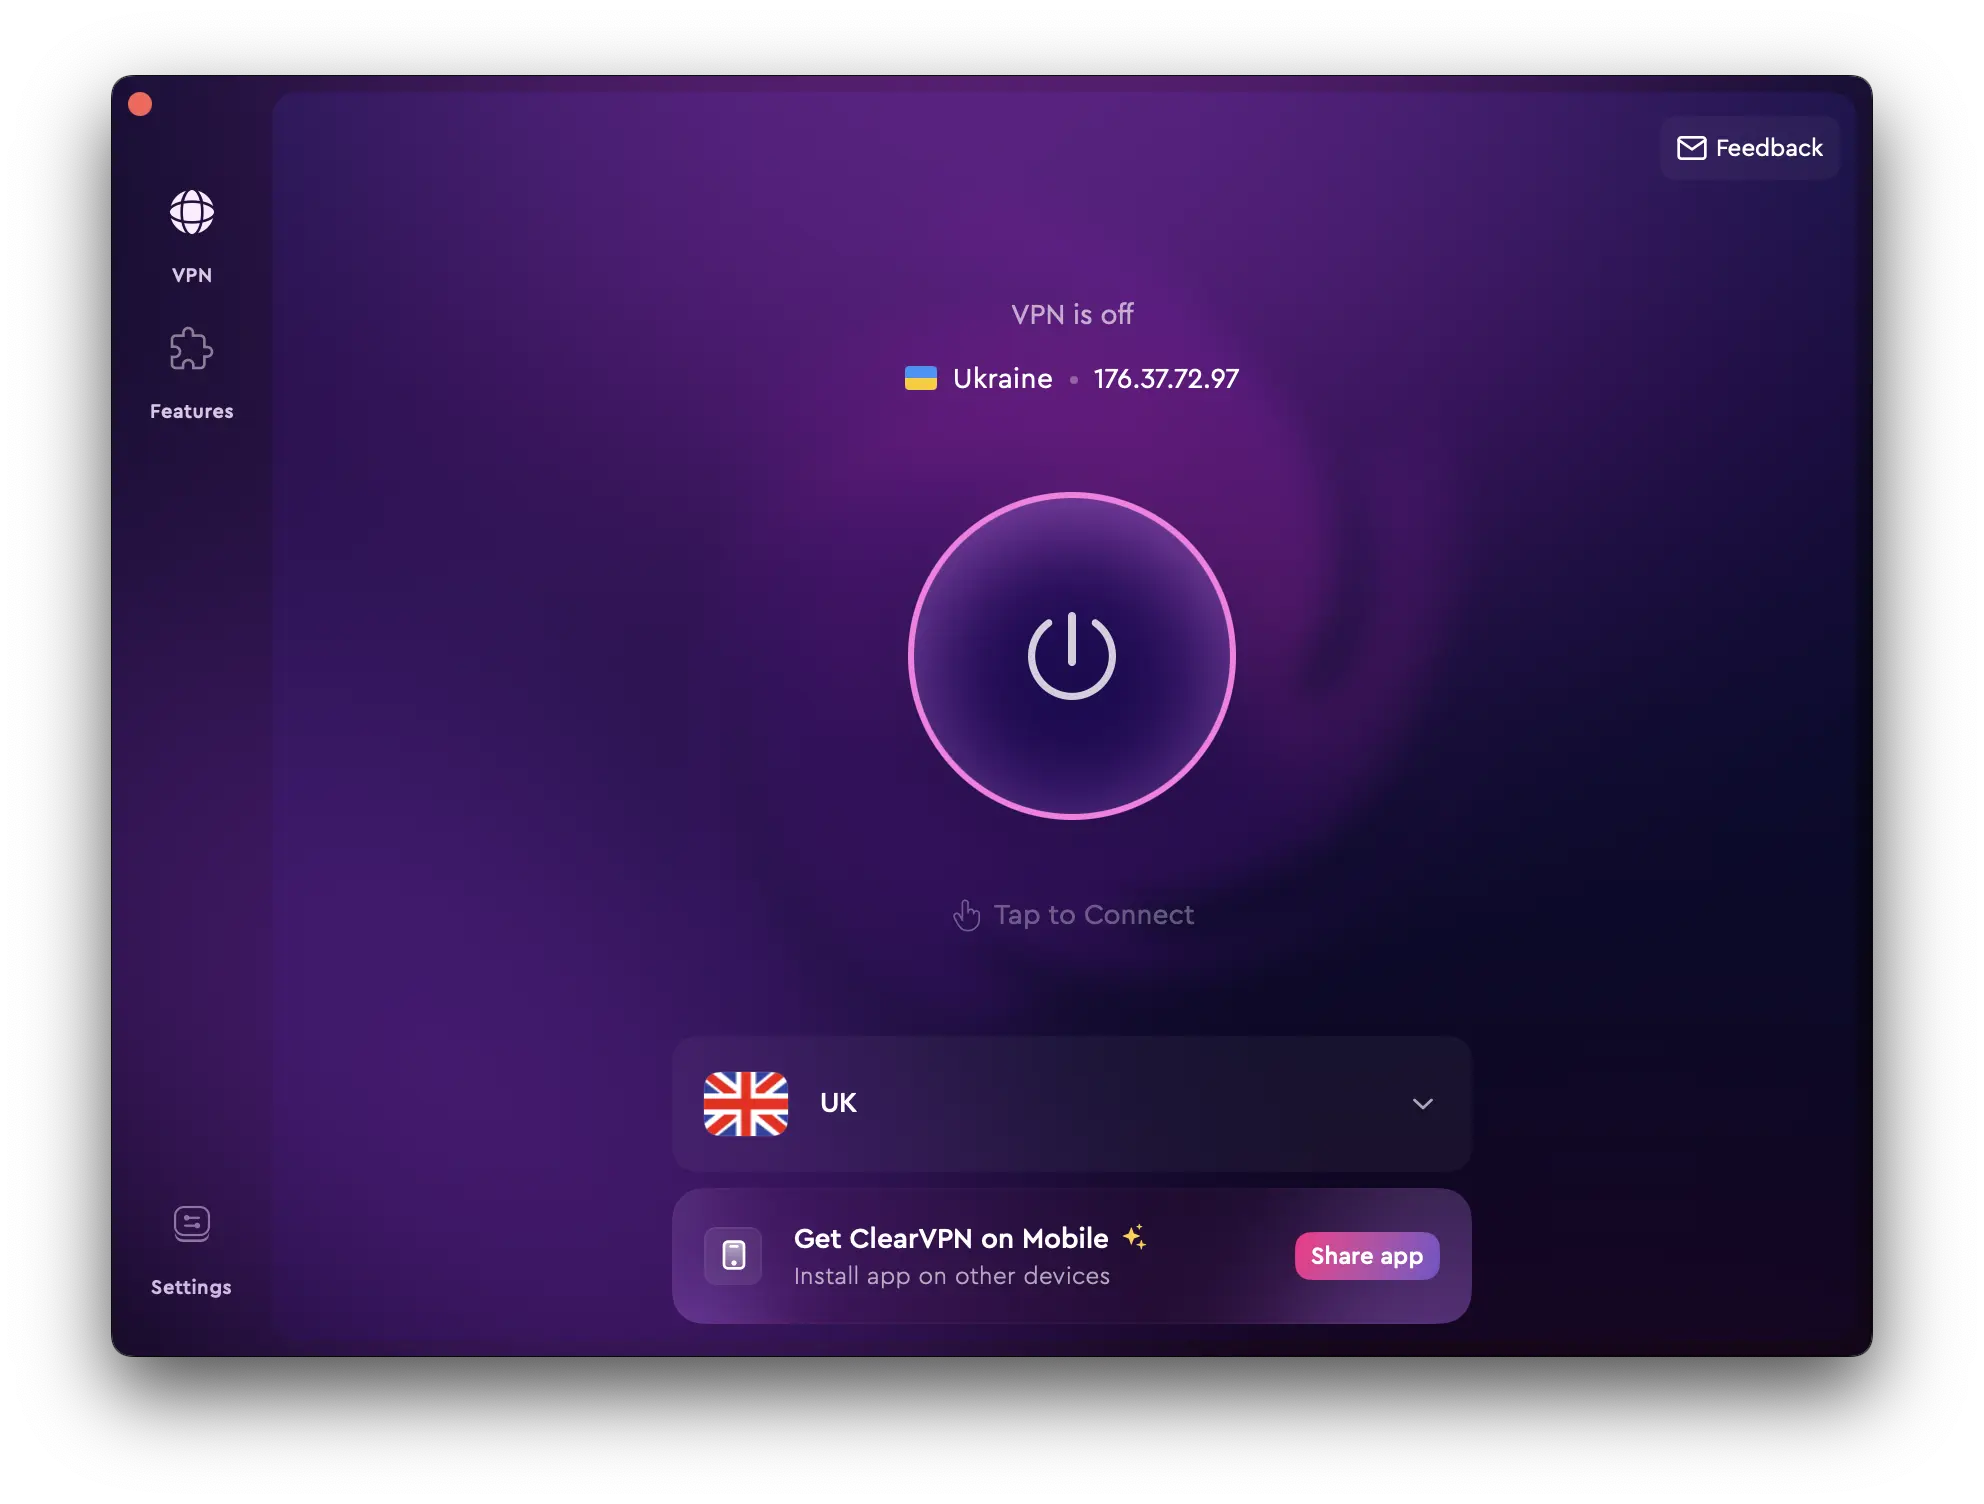
- Search for the ClearVPN.
- Click Get to download and install the ClearVPN.

- Launch the ClearVPN app.
- Click on the big button in the middle of the screen and that’s it.

ClearVPN is a VPN that runs on Mac machines. I use ClearVPN to protect my privacy while working in public spaces and connected to public Wi-Fi. Many might be unaware, but ClearVPN uses AES-256 encryption and WireGuard-based protocol, which provides secure high-speed VPN connections. Moreover, Macworld listed ClearVPN as one of the top MacOS apps. You can download and install ClearVPN app for your Mac here.
FAQs
Should you use a free Mac VPN?
We don’t recommend free Mac VPNs because we doubt their security and privacy practices. For example, some free VPNs might collect your data and sell it to third parties to sustain operating costs.
Do Macs have a built-in VPN?
Apple’s Mac machines don’t have a built-in VPN, but it allows you to connect to a VPN service. You do so by configuring the Mac VPN settings, as shown in this guide. Alternatively, install the VPN from AppStore or download the installer from the VPN provider.
Does Apple allow VPNs?
Yes. Apple doesn’t restrict VPN usage on its devices. Whether you’re using a Mac computer, iPad, or iPhone, installing a VPN to safeguard your privacy and data is possible.
